How to Install and Activate RDS CALs 2008 R2

Introduction :
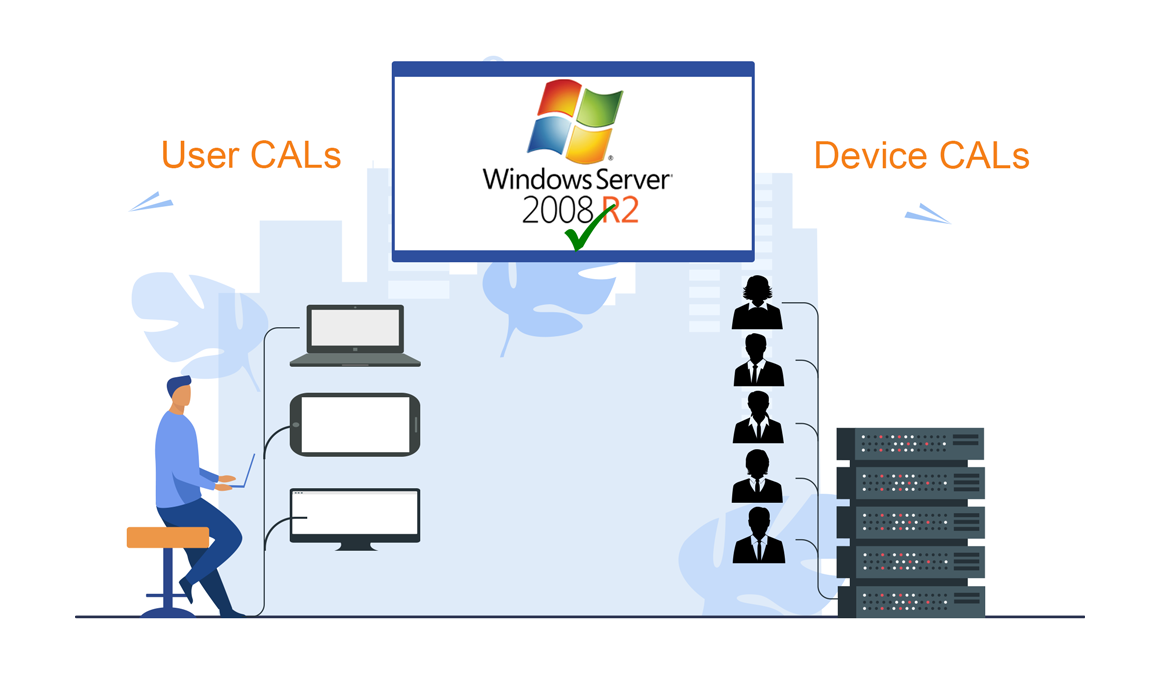
An RDS CAL is a license that allows users/devices to access a Windows Server remotely. Installing and configuring a Remote Desktop License Server (RDS CALs) on Windows Server 2008 R2 is covered in this step-by-step guide.
Requirements
- Operating system: Windows Server 2008 R2
Steps to follow
Install the Server Roles
Let's start by launching Server Manager and then selecting Add Roles.

Click Next in the Before You Begin section.

Tick the Remote Desktop Services role option, then click Next.

After that, select Next.

Add the Remote Desktop Session Host and Remote Desktop Licensing role services, then click Next.

Click Next in the Uninstall and Reinstall Applications section.

Select the authentication method for the Remote Desktop Session Host and then click Next.

Select the licensing mode, then click Next.

Choose User group allowed Access to this RD Session Host Server then click on Next.

Set the client experience before moving on to the next step.

Configure the Discovery Scope for RD licensing and then select Next.

Select Install. After installation, you may need to restart your Server to effect the modifications.

As soon as you're finished, click Close.

Activate the RDS License Server
Open your start menu, and then Navigate to Remote Desktop Services and then to Remote Desktop Licensing Manager by clicking on "Administrative Tools":

Open the server area in the RD Licencing Manager, then click Activate Server.

The "Welcome to the Activate Server Wizard" window will be displayed, click on Next.

Then choose Automatic as the connection method, then click Next.

Enter your Full Name and the name of your organization, then click Next.

Insert your email addresses and company information, then click Next. Enter your email address and company information, then click Next. You may also leave this field empty because it is one of the optional Information fields.

When the Install Licenses procedure is finished, click Next to proceed.

Activate the RDS CALs
Afterwards, right-click your server's name and select Install licenses.

The "Welcome to the install licenses Wizard" window will appear. After that, click Next.

Select the licensing program License pack (Retail Purchase) and then choose Next.

Insert your activation code, Click on Add then choose Next.

Everything has been finished.The RDS CAL is now activated and fully functional.

Read also


