How to Install and Activate RDS CALs 2012 R2
Introduction :
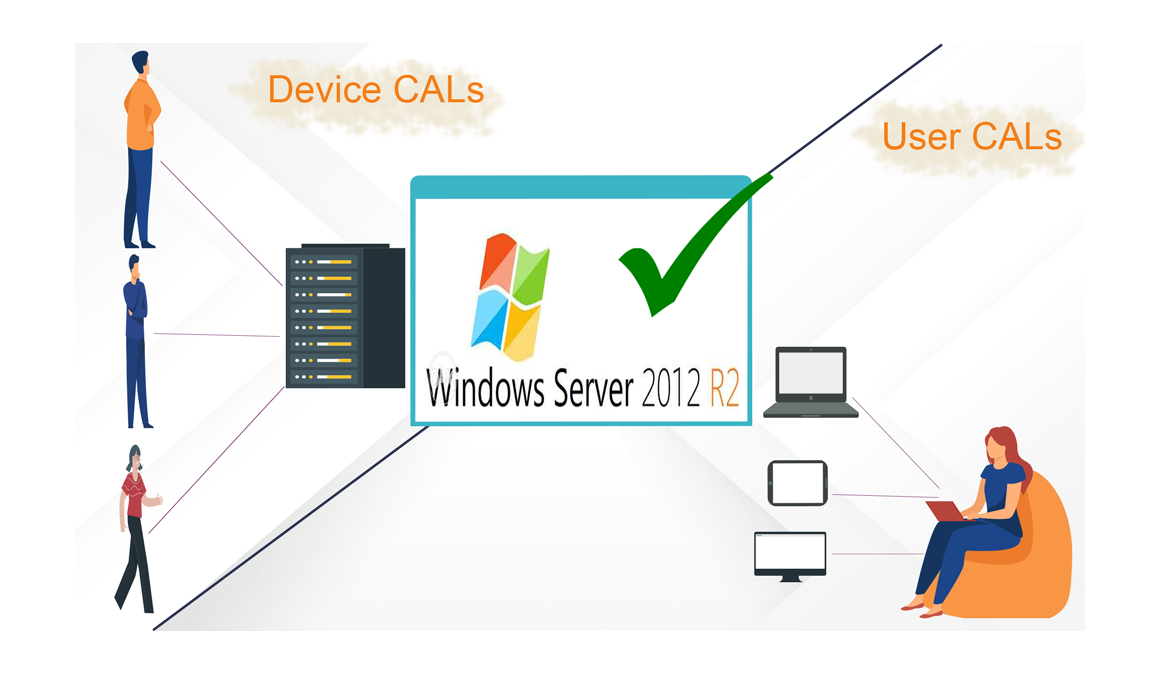
The RDS CAL is a license that authorizes Windows Server users or devices to access the server's resources. In this blog post, we'll teach you how to install and set up a Remote Desktop License Server (RDS CALs) on Windows Server 2012 R2.
Requirements
- Operating system :Windows Server 2012 R2
Steps to follow
Install the Server Roles
To begin, browse to Server Manager and select Add Roles and Features.

In the Before You Begin Section, Choose Next.

Select Role based then click Next

Select the option Select a server from the server pool and click on Next. You can also choose Select a virtual hard disk

Select the role Remote Desktop Services then click on Next.

Leave the Features section defined by default. Now, click on Next

Click on Next once again.

Add both role services Remote Desktop Session Host and Remote Desktop Licensing then click on Next.

Select the option Restart the destination server automatically if required then click Install

Then click Close once finished.

Activate the RDS License Server
Now, open “Server Manager”, then go to Tools, click on Remote Desktop Services and select Remote Desktop Licensing Manager:

Open the server area in the RD Licencing Manager, then click Activate Server.

A window with “Welcome to the Activate Server Wizard” will open. Click on Next

Please set the connection method as Automatic then click on Next.

Input your Full Name and your company name then click Next.

Please insert your emails and your company’s details then click on Next. You can also leave this field blank as it is optional Information fields.

Install Licenses wizard is now completed, click on Next to finish.

Activate the RDS CALs
Please right click your server name then select Install licenses

A pop up with “Welcome to the install licenses Wizard” will open. Select Next.

Choose the license program License pack (Retail Purchase) then click on Next.

Enter your License key. Then, after clicking Add, proceed by clicking Next

Everything has been completed. The RDS CAL has now been enabled and is fully functional.

Read also


© 2026 ASA Int. Services Pte Ltd All rights reserved